Monday, 18 October 2010

Target 8 Done!!


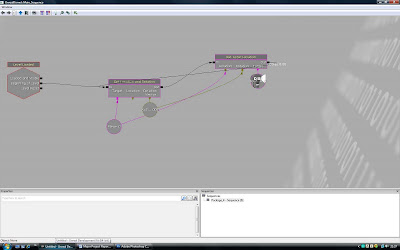
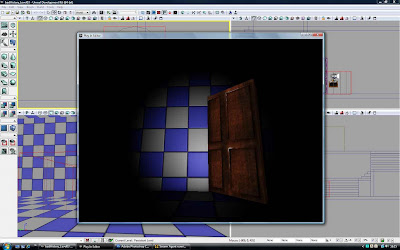
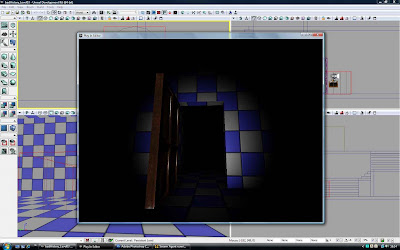
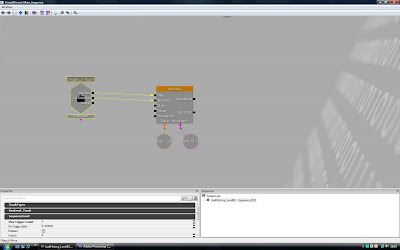
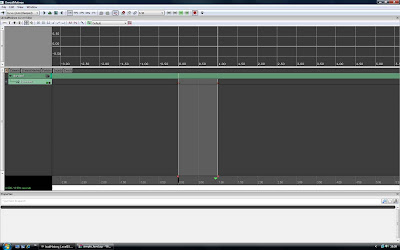
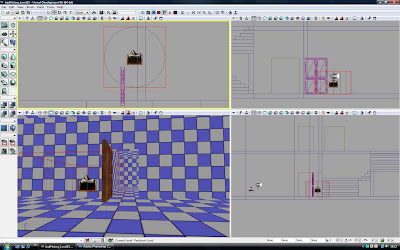
I have now completed implementing a trigger and matinee sequence. To achieve this I used my prototype level and created a simple door model that opens and closes; activated by a trigger the player touches which then plays a matinee sequence of the door shuting. When the player does not touch the trigger the door again opens.

Tuesday, 12 October 2010

Target 7 Done!!


For this target I created a simple panel in 3DS Max and the texture for the uvw map in Adobe Photoshop and applied to the model in Max; then I exported the model in the .ASE format.
Then opening the texture created in PhotoShop in CrazyBump I exported a diffuse, normal and specularity map in .TGA format to be imported into UDK.
I imported the mesh and textures into UDK and made a material for the panel and applied it to the model.
Then I put my mesh into my prototype level and duplicated it along one of the walls of the room.

Sunday, 10 October 2010

Target 6 Done!!


Before I can import my textures into UDK I found out they must be in .tga format (which can store extra alpha channel) and 32 bit.
Also the textures must be equal to the power of two:
16 x 16, 32 x 32, 64 x 64, 128 x 128, 256 x 256, 512 x 512, 1024 x 1024.


Once the textures were imported into UDK I created my own material in the material editor; pluging in diffuse texture into the diffuse connector; normal texture into normal connector; specularity could be plugged into the specularity to make the material look polished under a light source.

Friday, 8 October 2010

Target 5 Done!!


I have learned not only how to create texture maps with Crazy Bump software; I also what they are used.
Diffuse = colour image
Specularity = light affect on texture
Normals = bumping image to give texture

Thursday, 7 October 2010

Target 4 Done!!

I have finished my three room prototype and I learned how to edit my brushes in geometry mode using the split tool to create a bay window effect in one of the rooms.

Tuesday, 5 October 2010

Target 3 Done!!


I have found a solution to create a flash light with vertical rotation for my project. First add a light to the level by right clicking in the perspective view on the floor near the PlayerStart; form the menu select Add Actor; then Add Light (Point). With the light still selected right click and from the menu select Convert Light; then SpotLights; then SpotlightMovable.
Now rotate SpotLightMovable to face the same way as the PlayerStart and raise it to the correct height; while still selected right click on the Spotlight Movable to bring up the Spotlight Movable’s Properties window. Expand Light Component and expand SpotLightComponent and change the outer cone angle properties to replicate a flashlight.
Now fire up kismet with the SpotLightMovable still selected; right click in the grey area; from the menu select New Event; then Level Loaded and that node appears.
Again right click in the grey area; from the menu select New Action; then Actor; then Get Location and Rotation and that node appears.
Again right click in the grey area; from the menu select New Action; then Actor; then Set Actor Location and that node appears.
Connect the Beginning of level of Level Loaded node to the In of Get Location and Rotation node.
Connect the Out of Get Location and Rotation node to the In of Set Actor Location node.
Connect the Out of Set Actor Location node to the In of Get Location and Rotation node.
Now right click on the Target of Set Actor Location node and from the menu select New Object Var Using SpotLightMovable_0.
Again right click in the grey area; from the menu select New Variable; then Player; then Player and that node appears. With the node still selected in the properties window under SeqVar_Player uncheck All Players.
Connect the Target of Get Location and Rotation node to the Player variable node.
Connect the Location of Set Actor Location node to the Player variable node.
Now right click on the Rotation Vector of the Get Location and Rotation node and from the menu select Create New Vector Variable. With the node still selected in the properties window under SeqVar_Vetor; then Vect Value change X to 0.001.
Connect the Rotation of Set Actor Location node to the Vector Variable node.
Finally right click on the Out of Set Actor Location node and from the menu select Set Active Delay; a dialog box that appears; type 0.001 and click Ok.

“A loop has been created which determines how frequently (0.001) the location and rotation of the player is updated which allows a smooth sync between flashlight and player”.
Excellent we have a flashlight that follows the player and also looks up and down.


Sunday, 3 October 2010

Target 2 Done!!

I have finished my plans for all three floors of the house.